Our guest bathroom had plenty of space for a nice wide bathroom vanity, but the location of the toilet made for a tight squeeze for anything off-the-shelf.
Instead, we built our own in an afternoon using only two pieces of wood (and some screws, and a drill, and a couple saws, and…).
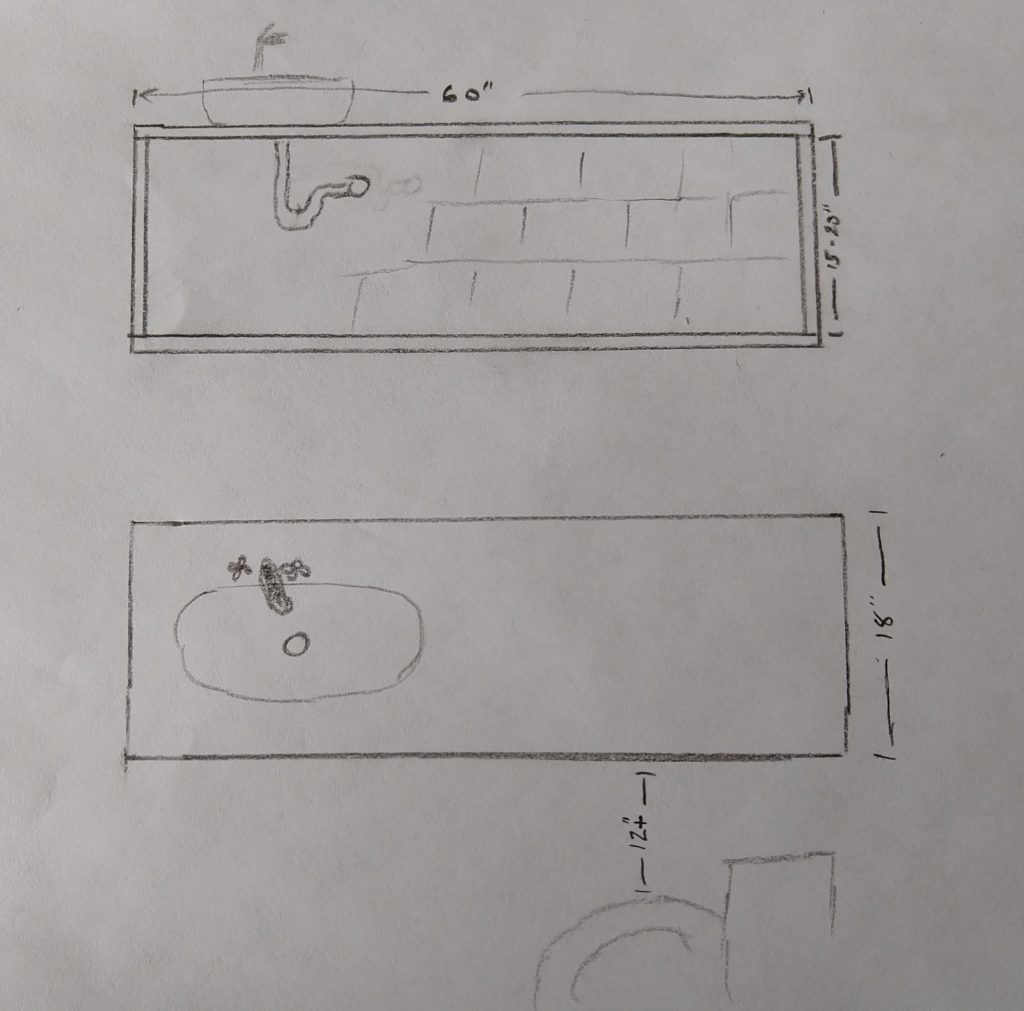
We had almost 60″ on the wet wall that we wanted to devote to a bathroom vanity; however, with the toilet’s placement in the room, we could go no deeper than 18″. We’d searched for some time for ready-made options like this IKEA vanity, but they were either too narrow – which would look strange in the space – or too deep to fit.
All of this focus on ready-made seemed a bit ridiculous given that we had all the tools to make our own. I sketched up some plans for a simple rectangular floating vanity made out of butcher-block countertop, and headed down to Lumber Liquidators to order some countertop.
I’d had previous experience building simple things out of Lumber Liquidators’ countertops. A few years ago, I’d built an 8-foot bar-height counter for our loft apartment using an acacia countertop and iron pipe for the legs.
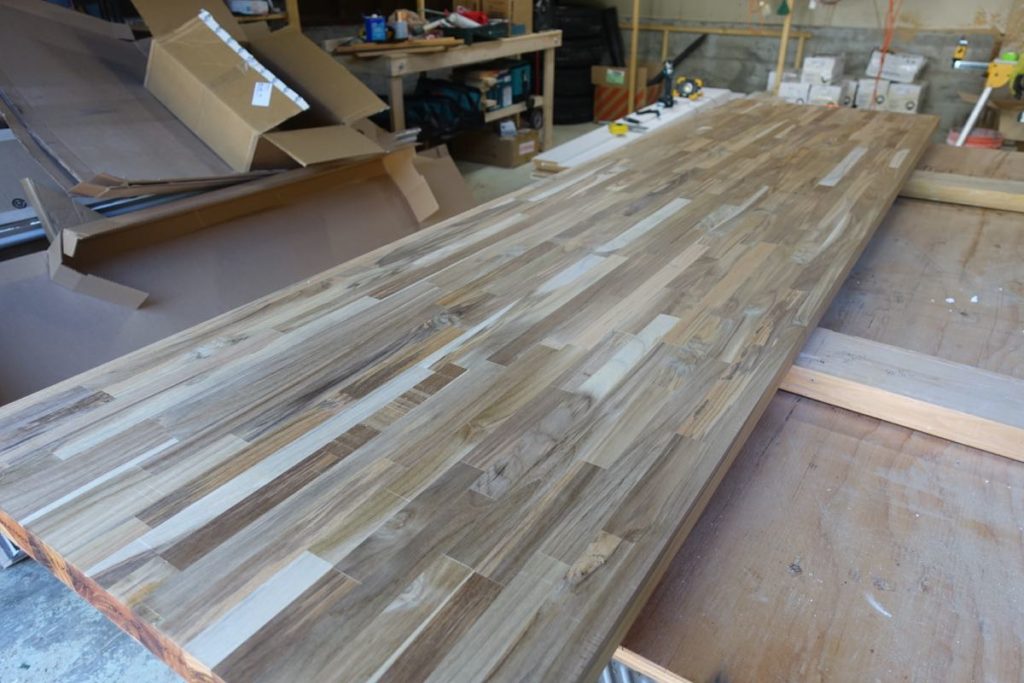
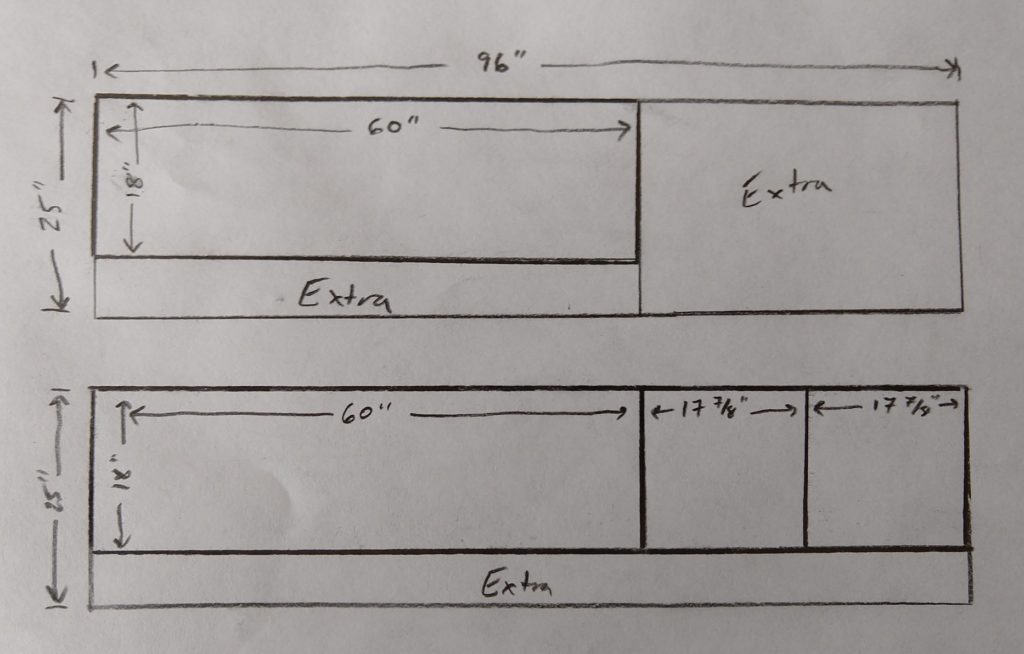
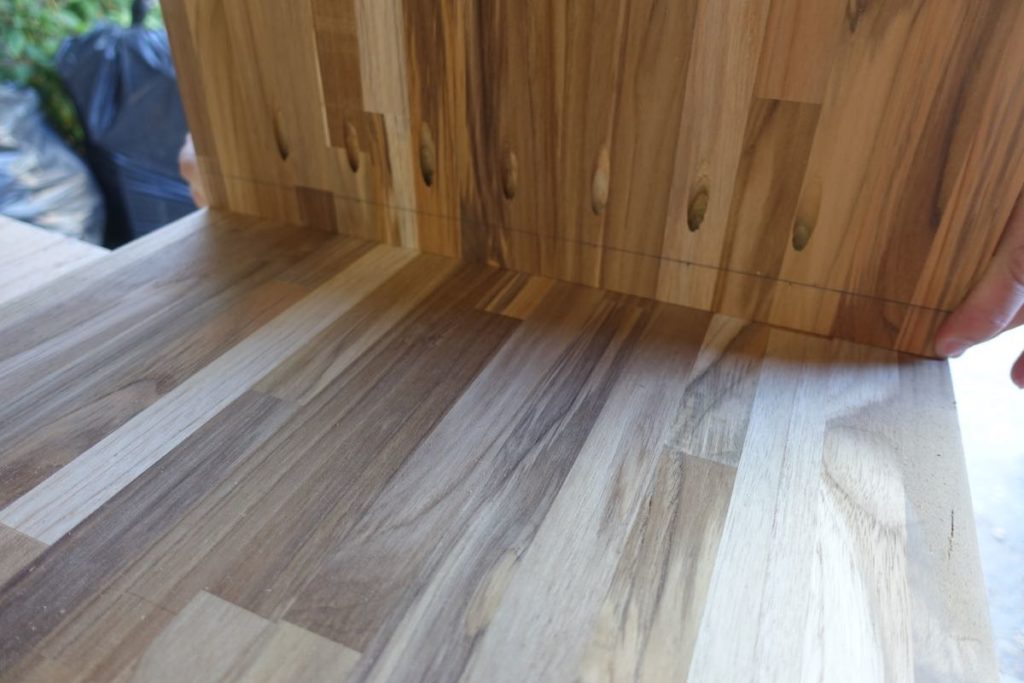
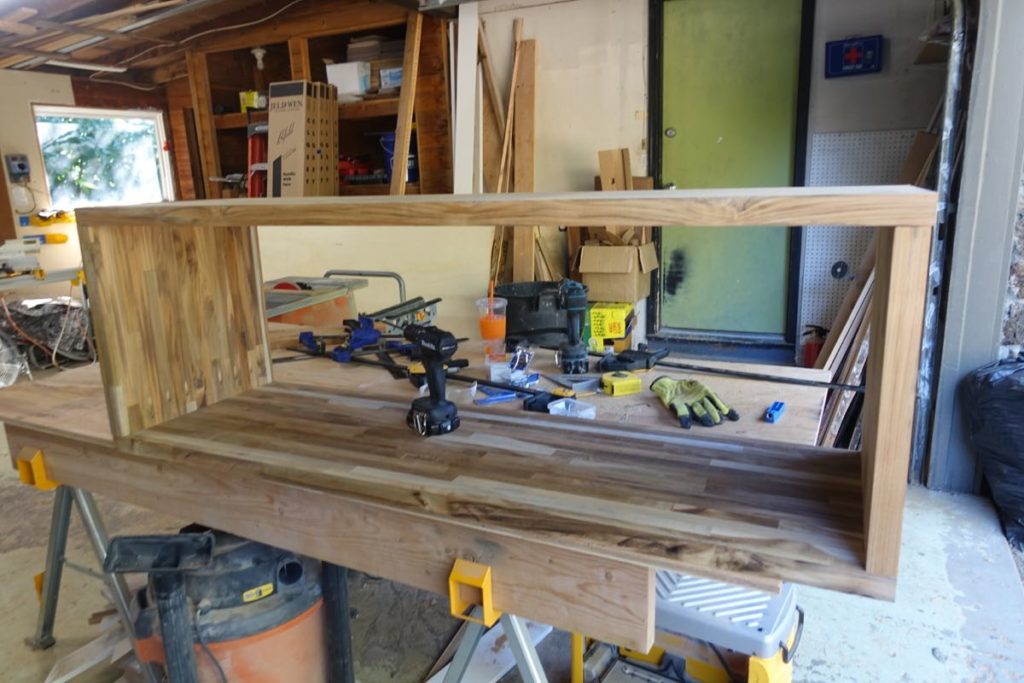
Due to the length of the space and the desired height of the vanity, I bought two 8-foot countertops in teak. Cutting the top and bottom shelf off at 60″ left two almost-36″ pieces, one of which could be cut in half to use for the sides, and the other for a future project down the road.
This is how I cut the two countertops. The long strips leftover might be useful for shelves somewhere.
Here comes the technical part that involves cutting. If you haven’t used a table saw before, I recommend you start out on smaller projects to learn how to use these tools without injury, because these countertops are very heavy!
I first cut one of the pieces to 60″ length, as that would leave me a full-width piece not quite 36″ long that I could use for something else. I did this with the circular saw and a finish blade, clamping a straight board to the piece to use as a guide for a straight, clean cut.
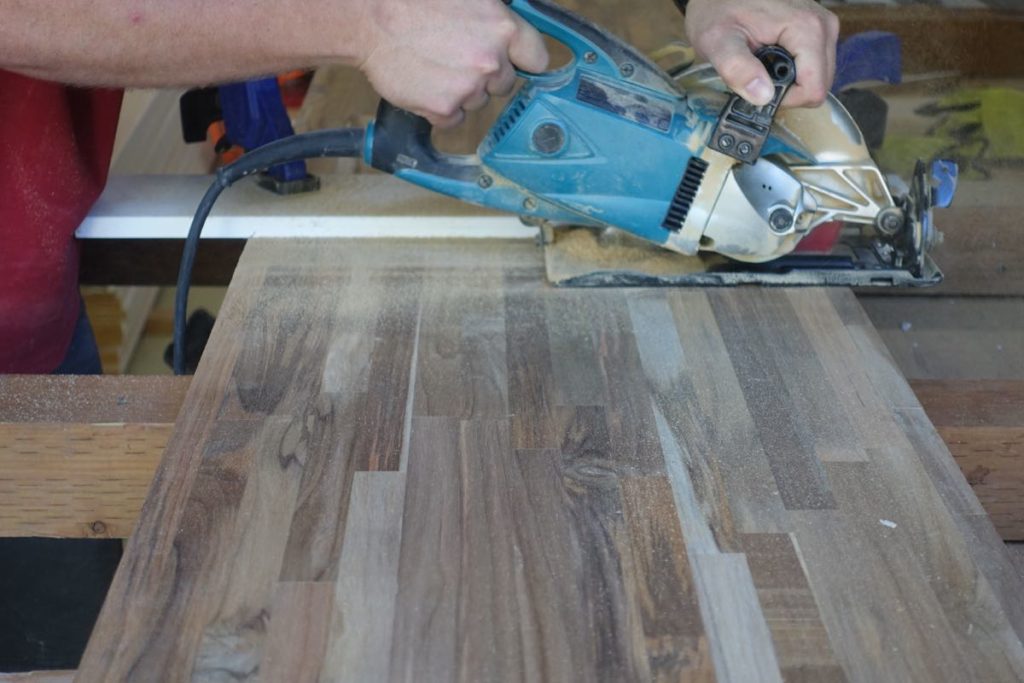
Make sure to go slowly to give your saw blade time to work, and keep everything carefully aligned as this will be a finished edge.
The 8-foot countertops come in a 25″ width, so the next step was to rip everything down to our desired 18″. I used a finish blade and went very slowly since the pieces are 2″ thick. Then, I went back to the circular saw and cut the other piece to 60″ length, and the remaining 18″x nearly-36″ length piece exactly in half for use as the sides. Note that these ended up a sawblade’s-width shy of a square, so make sure you measure carefully so the sides don’t end up unequal lengths.
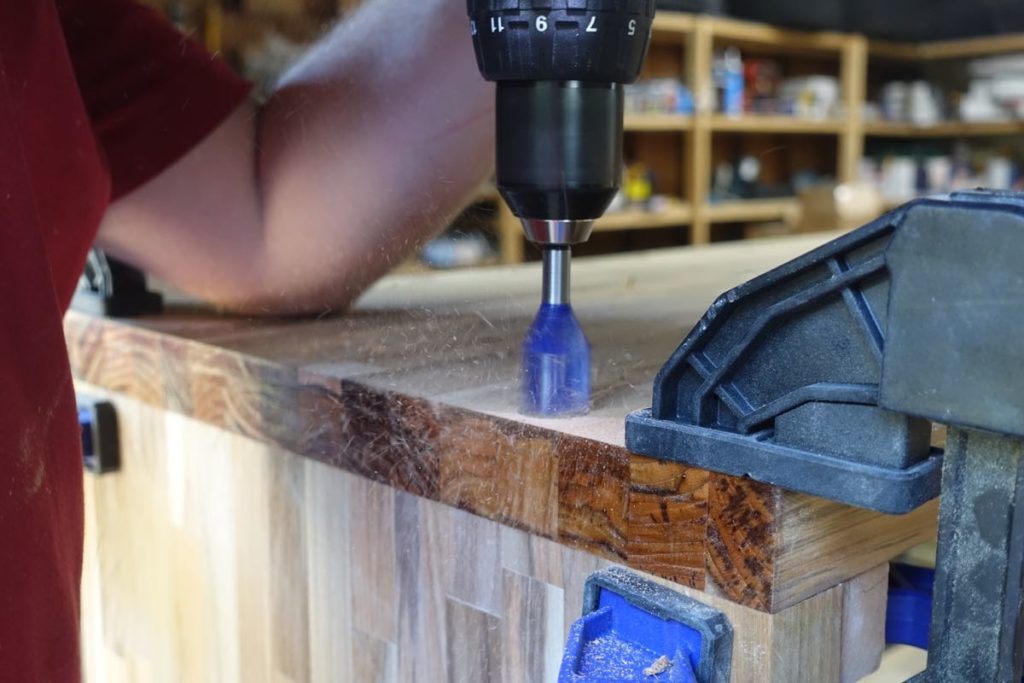
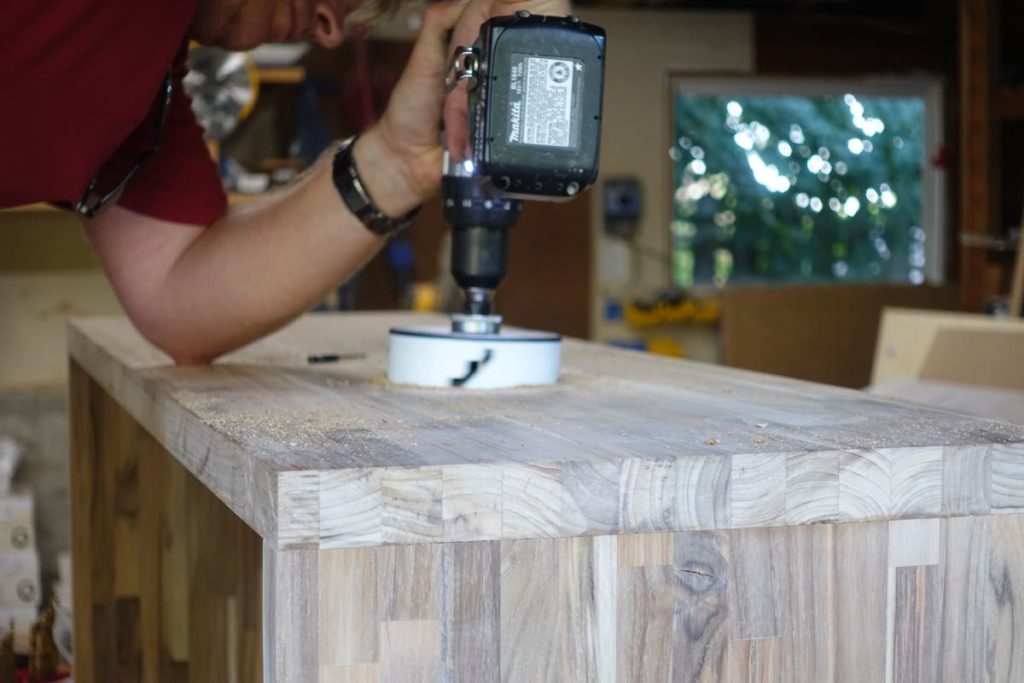
That was it for cutting. Now to put it all together. I knew I wanted to have blind screw holes for the top. Amazon sells a jig for this made by Kreg, as well as specially-designed screws and driver bits, all of which I bought for this project.
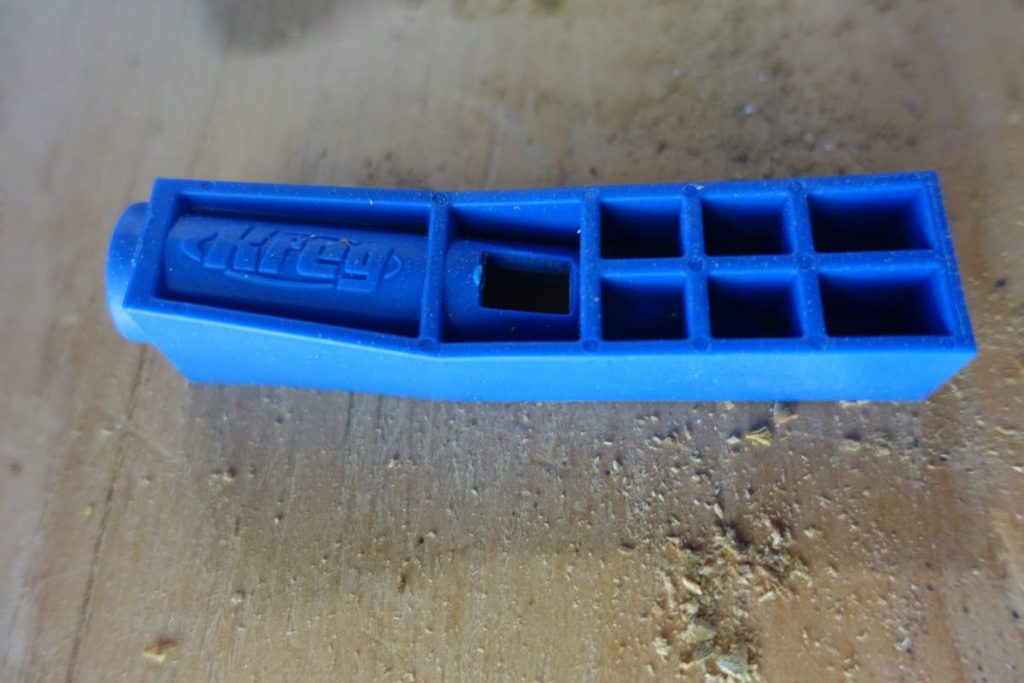
The kit was around 20 bucks, and I have EASILY gotten that much use out of it!
The jig itself has a metal bushing and comes with a drill bit specifically sized for it, making it possible to drill holes at an extreme angle. I settled on seven 2-inch screws on each side, spaced evenly across the 18″ depth. I drew a line one inch back from the edge, as this would leave the screws coming out approximately the middle of the end of the wood when everything was fastened together. I then clamped the jig at each marked location, and drilled a hole.
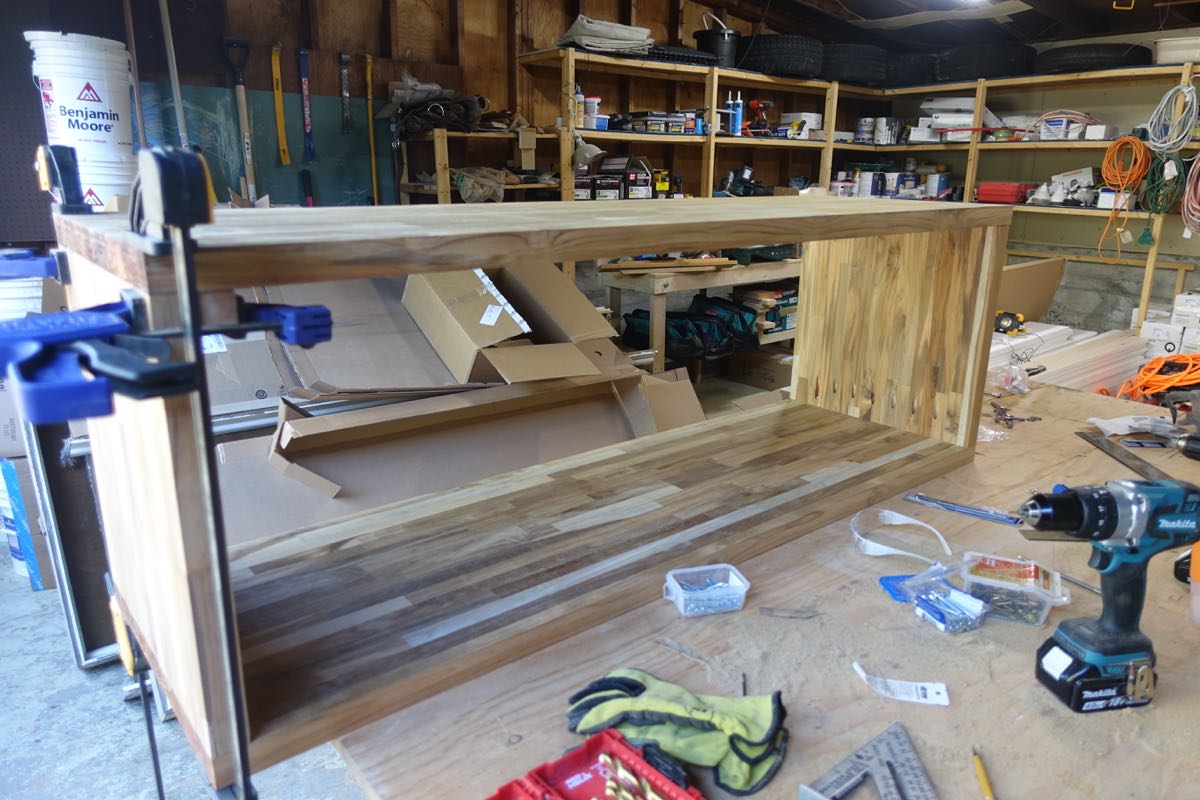
Drilled, glued, and clamped. Ready for fasteners.
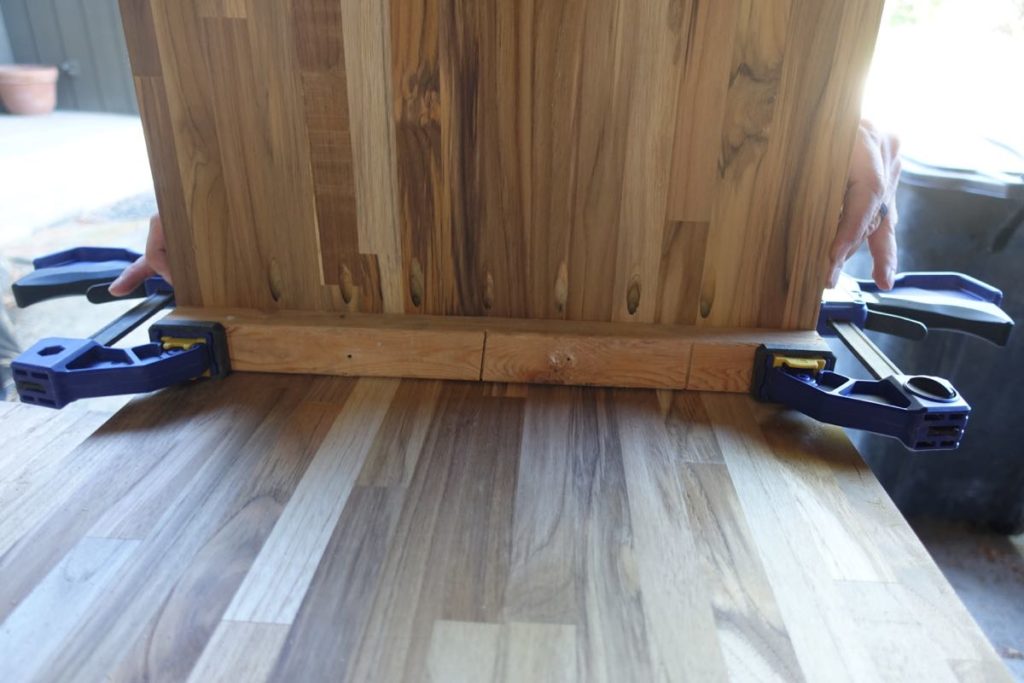
To attach the sides to the top, I laid the top piece upside down, and then clamped the sides so that they were square and flush with the ends of the top. I applied a very small amount of glue to the joint, and then screwed them in using the Kreg screws.
Why bother to clamp them first? Since there’s no mortise to hold things in place and this is the finished edge, I didn’t want the pieces to move relative to each other when the screw went in. This worked surprisingly well.
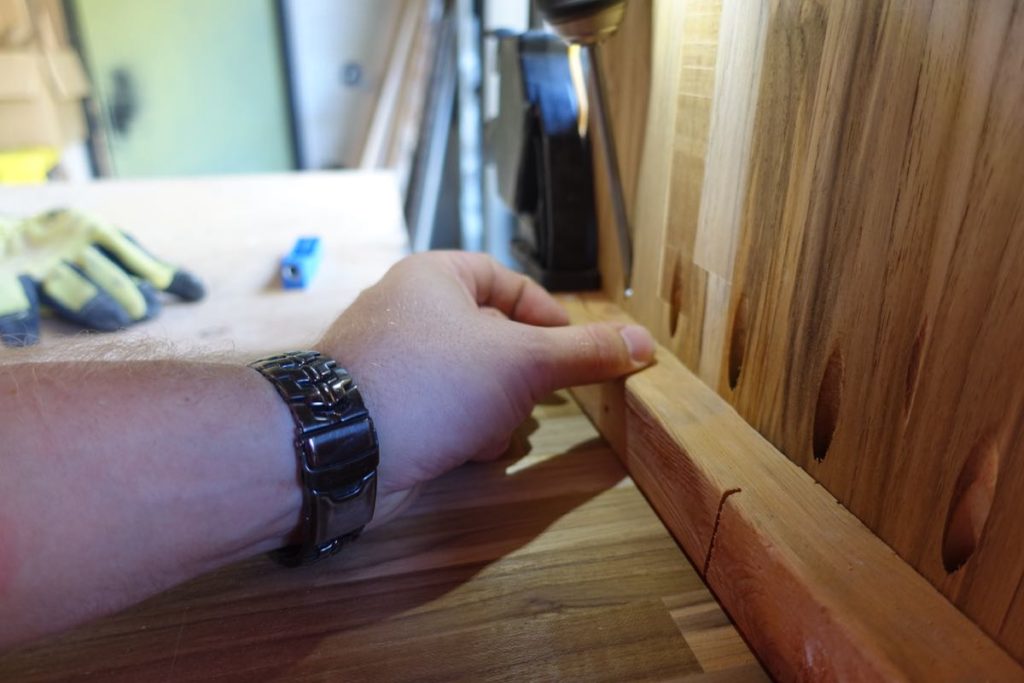
Finished joint. I sanded off the pencil line shortly after this photo.
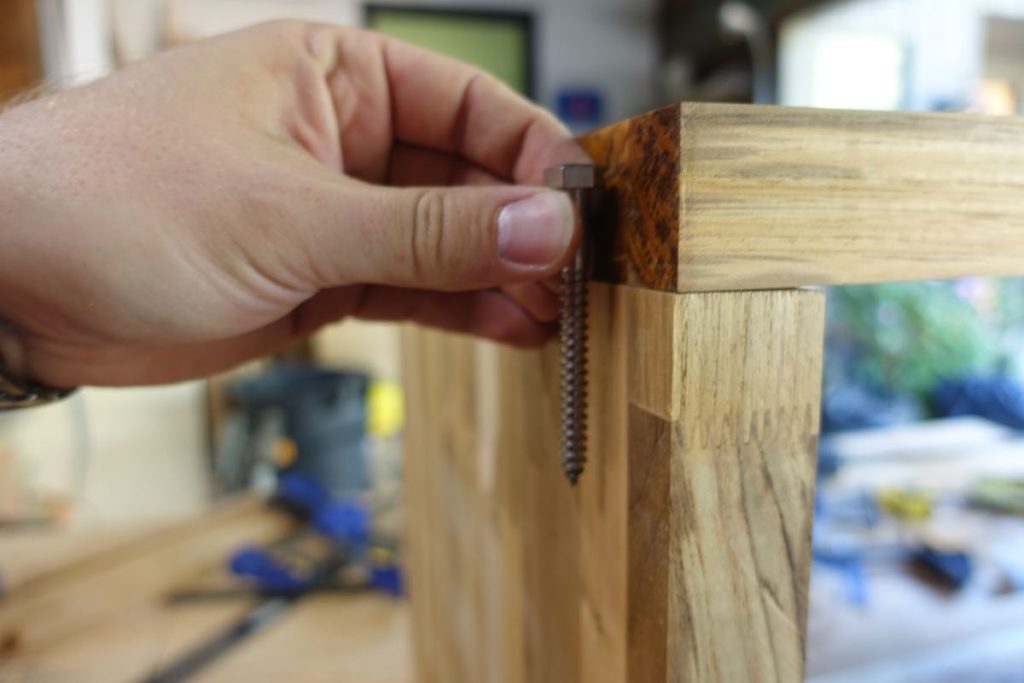
I applied another small amount of glue and carefully set the bottom piece of the vanity into place (upside down, of course). To attach the bottom, I used three lag bolts per side, pre-drilled and countersunk into what would be the underside of the vanity and therefore invisible.

Drilling the hole for the lag bolt.
Using a spade bit to drill the countersink hole. I only drilled about a half inch down, just enough to hide the bolt head.
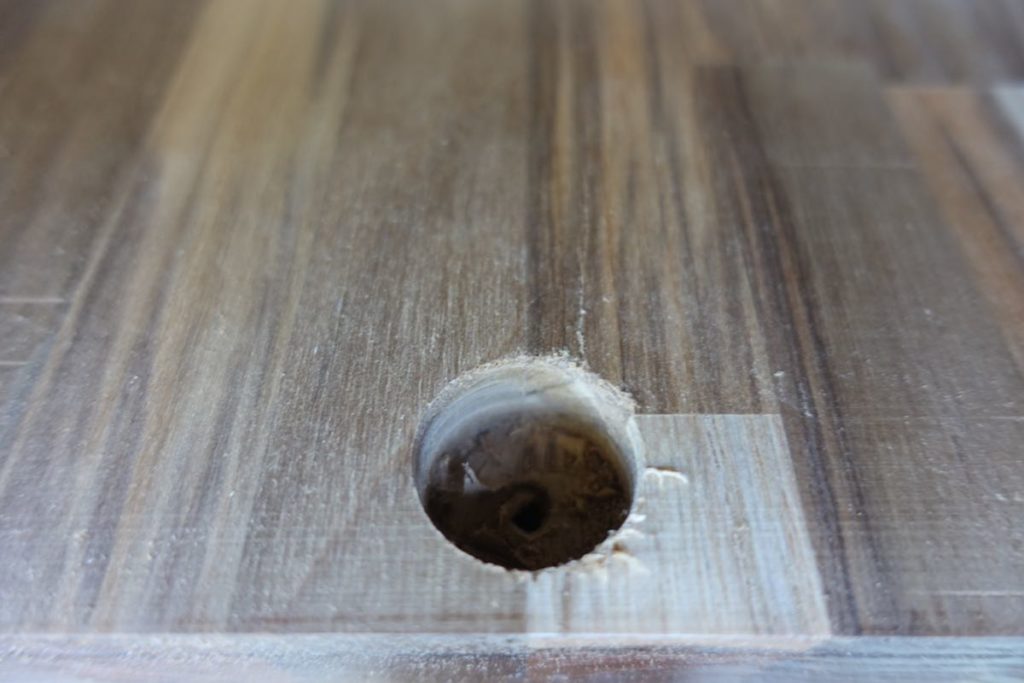
This is what the countersunk hole looked like once I’d stopped. Don’t go too far; a half-inch is more than plenty!
I clamped everything into place just like I had before, pre-drilled the holes, and bolted in the bottom.
Visualize that bolt about an inch to the right. That’s where it ended up.
The vanity itself at this point is super sturdy, so while the glue dried, I flipped it over and cut the holes for the drain and faucet water lines with a hole saw.
Finished vanity, upside down.
Cutting the drain hole for the sink. So very glad I’m not holding the drill plumb for this photo.
Mounting this to the wall was complicated. The vanity is upwards of a hundred pounds, and we were going to have ceramic tile on the entire wall. This meant two things: first, whatever attachment scheme I came up with would be visible, because the vanity has no back. Second, I want to make sure that the weight was being carried by the structure of the wall directly, and not through the tile. If you’re just mounting to drywall, a simple furring strip (or better yet, French cleats) would be much simpler and easier to work with.
Instead, I did it the hard way, by mounting steel angle brackets directly to the studs.
Using a stud finder, I found the four studs in the wall that would be behind the mounted vanity. I used the “multi-purpose tool” (made by Makita, seriously, this is probably the second-most-useful tool in the shop) to cut the drywall exactly over the studs.
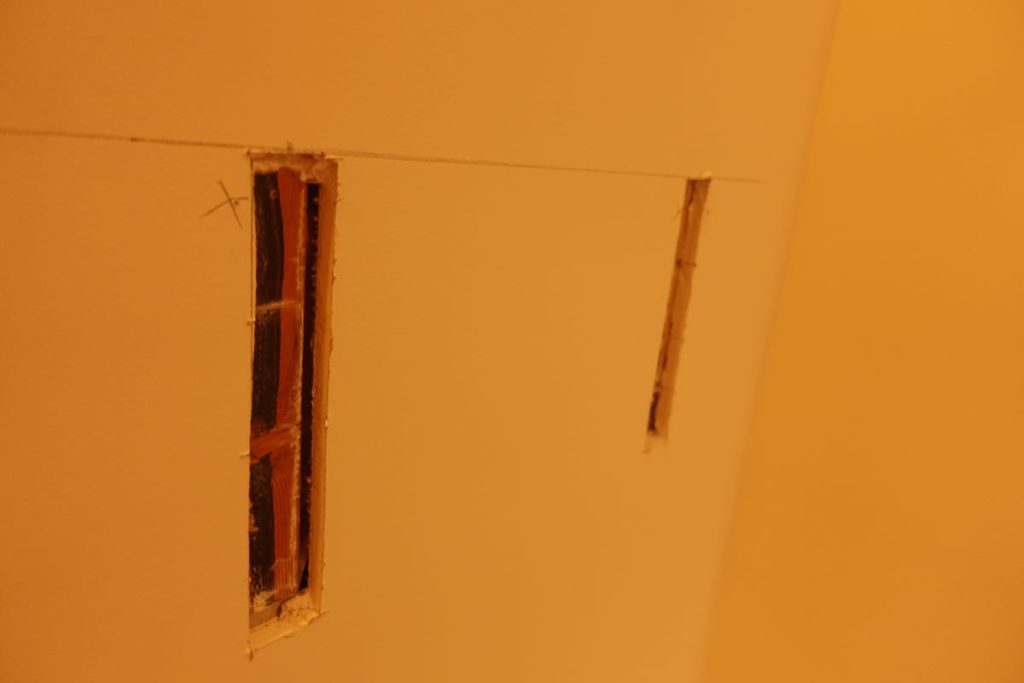
The holes were cut large enough to fit the angle brackets I bought, and at the correct height for mounting the vanity. I predrilled and lag-bolted the far left bracket into place, after checking either side of the stud to ensure there were no water lines going through.

If you don’t check carefully for plumbing, you might end up in a situation that looks like this.
Using a level, I then mounted the far right bracket in the same way, followed by the middle two.
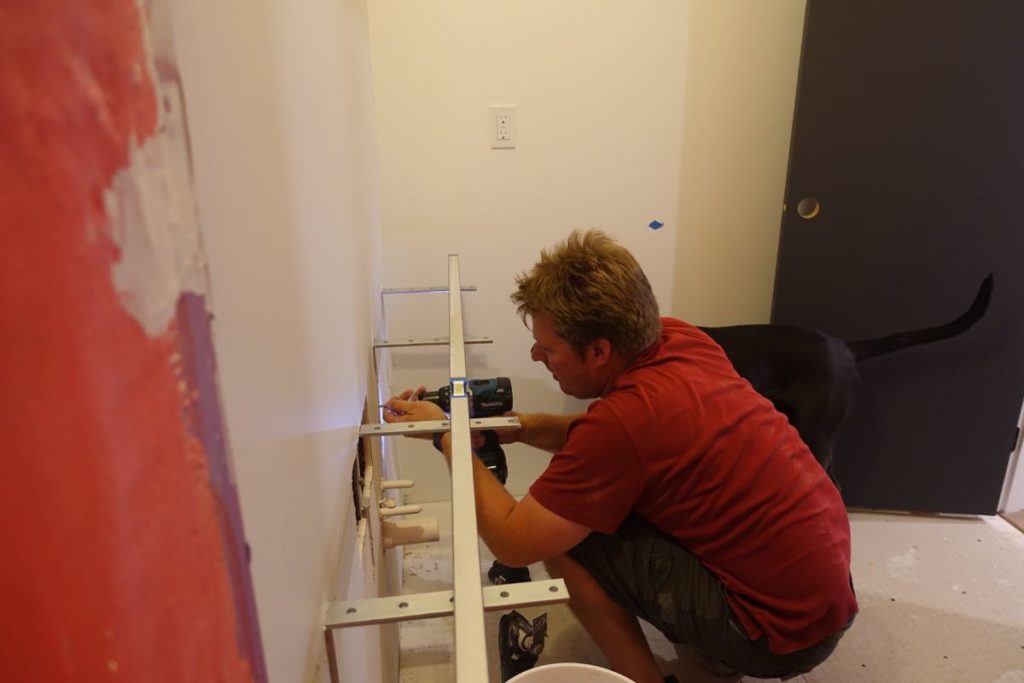
Bolting in the final bracket.
Because I’d first removed the drywall, the brackets and the bolt heads were recessed under the face of the wall, so the tile could be laid over top of the holes, hiding our work. I did add some patching plaster over it to provide a smooth tiling surface, and let it cure completely well in advance of the tile being installed.
Once the tilework was done some weeks later, we carried the vanity in and mounted it into place using 1″ screws from the underside. Then we installed the sink and faucet, and stepped back to enjoy our handiwork.
Leave a comment