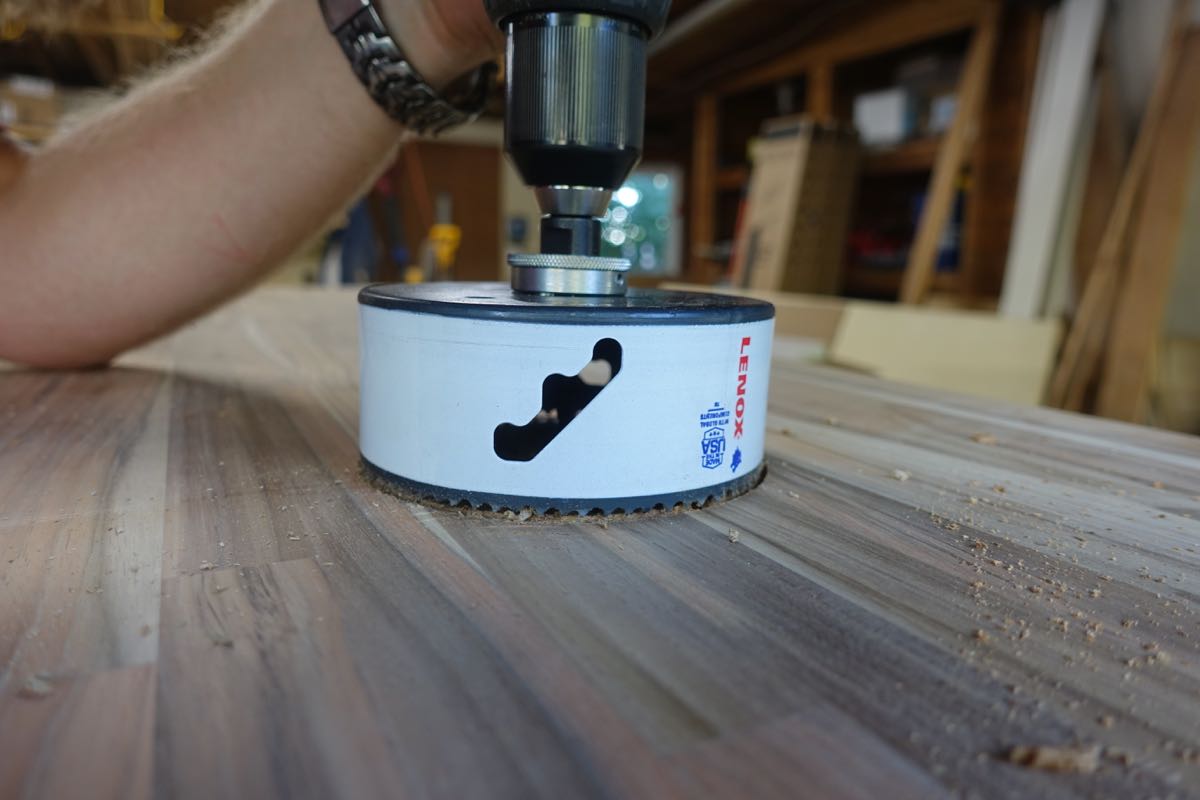
Sometimes, all you need is a little hole. Sometimes, you need a really big hole. For the latter, you’ll want to get comfortable with a hole saw. Here’s how to get started with one.
First off, there’s a reason this isn’t called a drill bit: it doesn’t work like one. Yes, it rotates like a drill bit, but it cuts like a saw blade does, with teeth. A drill bit is designed to cut through material by slicing it and lifting it up and away. A typical sawtooth cuts by chipping at the material and pushing it forward. A hole saw works the same way as any other saw.
Therefore, it also behaves like a saw. With a drill bit, you can press it up against your material and just pull the trigger, and presto! New hole.
Try that with a hole saw (or any saw, for that matter) and it will take right off on you, and if you’re lucky you’ll only be left wondering how your wrist could possibly hurt so much.
This brings us to my list of top tips:
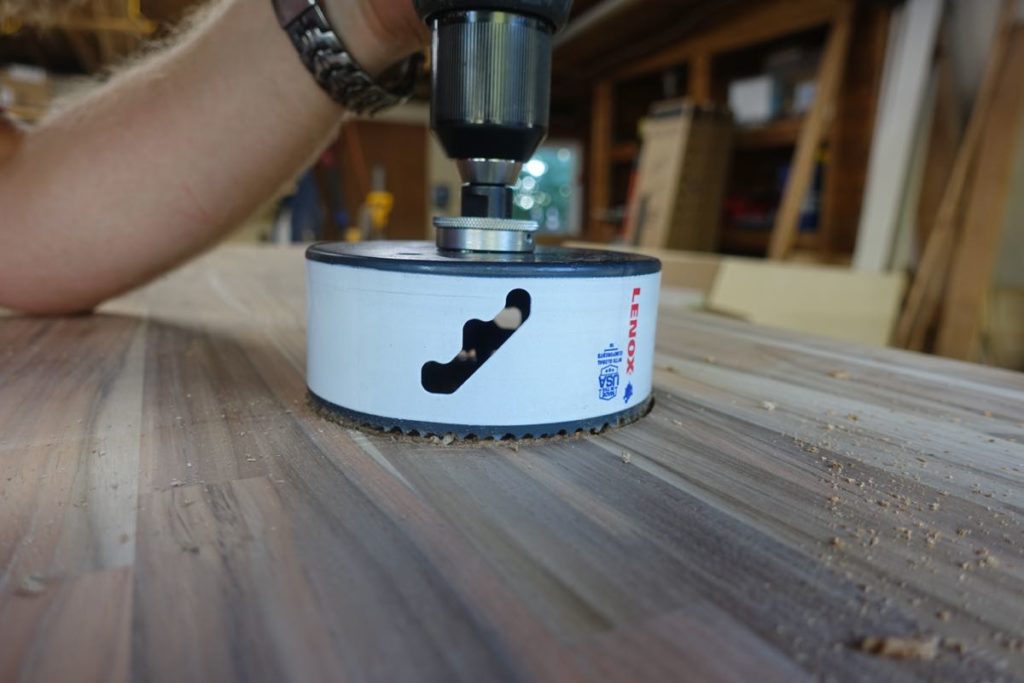
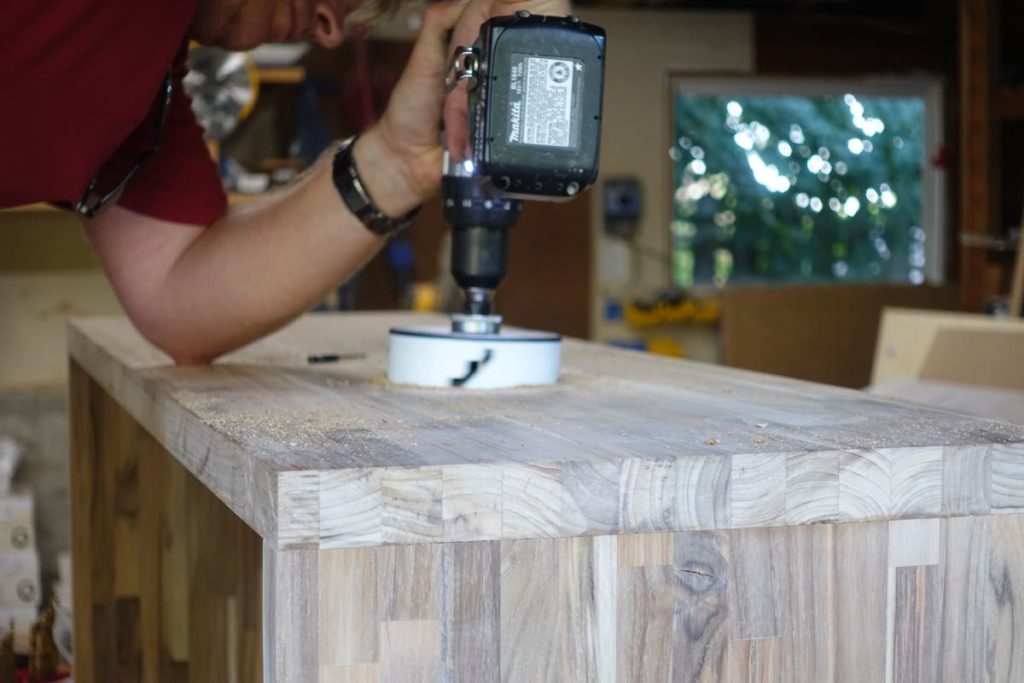
1. Get a Running Start
You want it to contact the material you’re cutting as it’s spinning, just like a regular saw. This way your body doesn’t have to absorb all of your drill’s torque because the saw won’t turn.
2. Let the Tool Do the Work
Only put as much pressure on the drill as it takes to keep it steady. The harder you press, the more likely it is to grab and twist you around the tool.
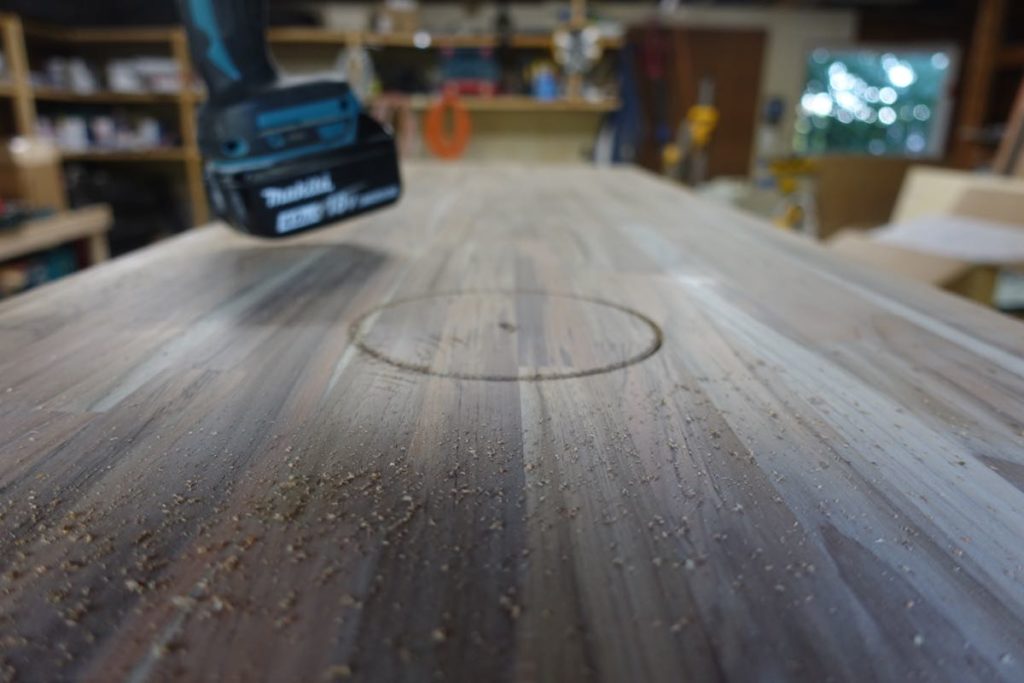
3. Give the Sawdust Somewhere to Go
This is a little outside baseball. So, remember I said that a saw works by pushing the wood chips forward in the cut. That’s a problem if your saw forms a circle, because as soon as your cut is full of sawdust, the teeth can’t reach the material anymore and you’re just heating up wood.
I’ve seen some folks stop periodically and use a shop-vac to clean out the cut. I don’t like this, because it’s tedious and slow, and all the in-and-out of the cut makes it easier to accidentally gouge your workpiece. Instead, you can drill a couple more holes and let the sawdust get pushed out the bottom. Here’s how:
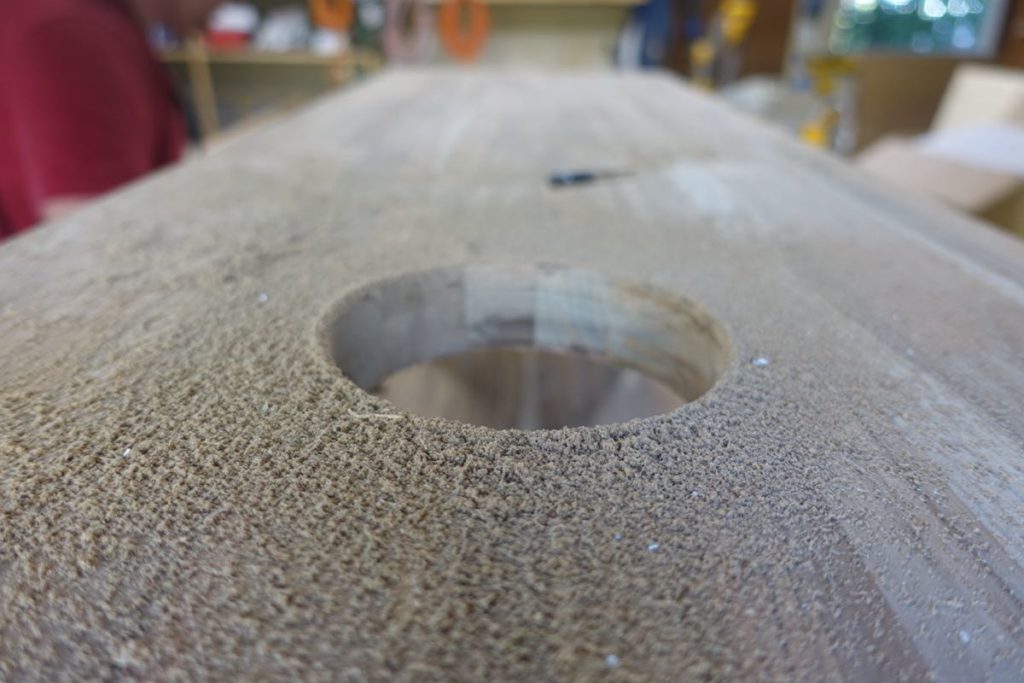
Start your cut with the hole saw, only going as deep as the teeth are tall. That’s usually between 1/8″ and 1/4″.
Then, grab a 1/4″ drill bit, and drill holes around the inside perimeter of the cut, so that the edge of the 1/4″ hole you drill touches the saw cut from the hole saw.
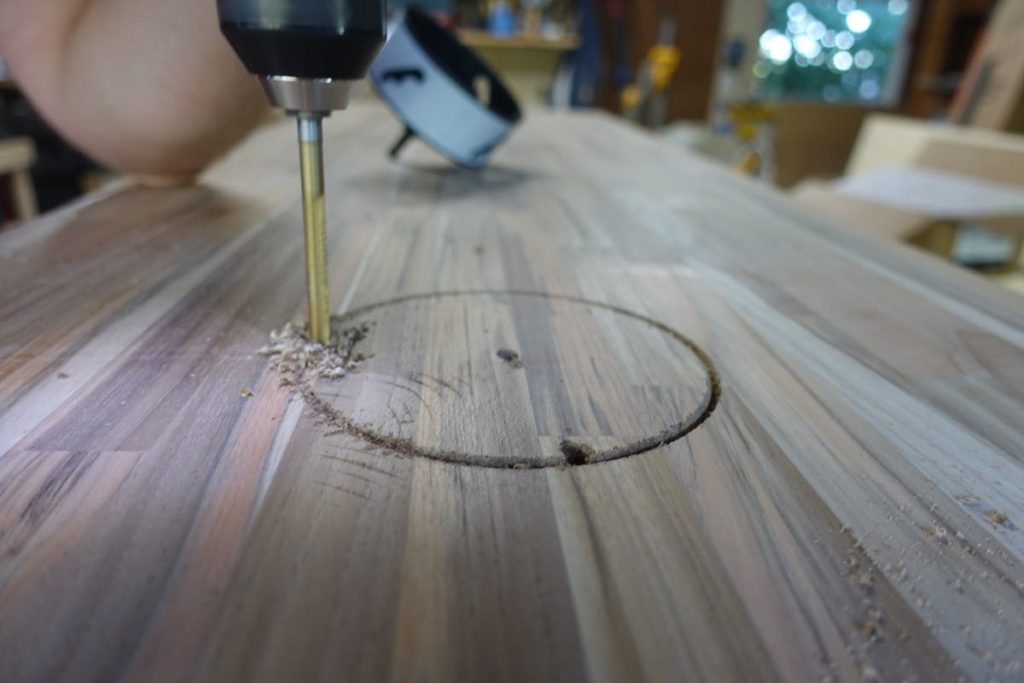
Don’t go outside the perimeter of the cut, or else you’ll end up with a lumpy circle. Also, check out those gouges in the top. That’s what happens when the hole saw gets away from you! Fortunately, that’ll be hidden underneath a sink.
Drill all the way through to the other side. Now, as you cut, the sawdust will fall down and out through those holes, keeping your hole saw clear and cutting!
4. Hold it Straight, But Don’t Panic if it’s Not Perfect
For our purposes, 89-degrees is fine.
Any time you’re working with hand tools, you can expect a certain amount of error. Try your best to hold it straight, but if it’s not quite straight, don’t try to correct it. The saw may bind up, twisting your arm in the process.
So just take your time, be careful, and soon enough you’ll be greeted with one of these:
Leave a comment